Help Guide

Tasks
  • Create a task by typing into the input bar located at the top of the agenda view, calendar view or list view. Quickly assign a due date or schedule a time to work on a task by specifying a date and time in the task input bar. It is also possible to link a task to a specific list by writing a list name before the task name in the input bar.
  • Manually assign a due date to a task by clicking the due icon located to the right of the task name, and selecting a date from the calendar dropdown menu.
  • Set a task to recur every day, week, month or year by clicking the due icon located to the right of the task name. Then select a date on the popup calendar and a frequency for the task to occur.
  • Assign a priority label to a task by clicking the flag icon to the left of the task title, and selecting a level of priority from the dropdown menu. Tasks can be sorted by priority via the sort tasks menu at the top of the list view.
  • To move a task to another list, drag and drop it to the preferred list on the left side of the page.
  • To sort the tasks in a list by due date, priority, estimated complexity or scheduled status, click the sort tasks icon at the top of the list view. Or, drag and drop tasks to a preferred custom order.
  • Click on a task to open the task notes dropdown window. Add free form notes or subtasks here. Highlight any text in the task notes window to access different headers, ordered and bulleted lists, images, gifs.
  • Click on a task to open the task notes dropdown window. Add free form notes here or type a "-" followed by any text to create a subtask. Sub-tasks can be scheduled into the calendar just like a regular task, and can be crossed off when completed.
  • To assign a task to a teammate, click on the plus icon to the right of the task name. Then select a team member from the dropdown menu to assign them that task. Only tasks from shared lists can be assigned to a teammate.
  • All the tasks that have been completed in a particular list can be found by clicking "Completed" at the top of the list view. Revisit the notes, subtasks, and task details of any completed task by simply clicking on a task in the completed tasks page.
  • Not all work is created equal - some tasks may take a few minutes to complete, and others may take a few days. Estimate the time it will take to complete your tasks so you can plan your projects more accurately and budget your time more efficiently.

    Click on a task and assign it an estimated completion time in the task details pane.
  • Click on a task to open the task details pane. In this pane, all of a task's working sessions, activity, and discussion will be displayed. Any time a task is scheduled into the Plan calendar, a working session will be created and recorded in the task details pane - allowing you to easily keep track of the total time you've spent working on a particular task.
  • Any time a task is scheduled into the Plan calendar, a working session will be created and recorded in the task details pane - allowing you to easily keep track of the total time you've spent working on a particular task. Click on a task to open the task details pane and review brief record of its working sessions.

    Note: all-day tasks - tasks created in the agenda view or weekly agenda without being scheduled a specific time in the calendar - will be assigned an 8 hour working session (approximately one working day).
  • Comment on a task to ask questions, provide extra information, or leave a tip for your teammates. To do so, click on a task to open the task details pane. Under the Discussion tab, click on the comment field, type a comment and click the arrow icon to save your comment. Anyone who has been assigned a task or has contributed to its discussion will receive a Plan notification about newly created comments.
  • Plan also provides a brief history of a task’s activity in the task details pane. The Activity tab in the task details shows when a task was created, when it was assigned a due date, whether that due date has been postponed, who has been working on the task and more!
  • Plan not only accounts for the total time spent working on a particular task, it also allows you to easily export this data as a CSV file. To do so, click on a task to open the task details pane. Click on the ellipsis next to the task name and select "Export Time Sheet."
  • Tasks scheduled into the Plan calendar will be automatically assigned an estimated scheduled time. To change the default estimated time for tasks, click the settings icon in the bottom left corner of Plan. Click "Preferences", then select a length of time from the Default Estimated Time popup menu. Tasks will now occupy the new default estimated time when scheduled into the calendar.
Meetings
  • You can create a meeting in Plan in 2 ways:
    1. Type the name of your meeting in the agenda view "Add a Task" Bar, and then click the circle on the left.
    2. Click anywhere on the calendar interface and enter more detailed information.
  • To edit the name, location, attendees, calendar, or description of a particular meeting, click on it in the calendar interface. A popup menu will appear, in which you can edit the meeting details.
  • With Plan’s shared team calendars, scheduling meetings with your team is now as simple as ever. Go to the Plan calendar and toggle a teammate’s name in the sidebar to overlay their schedule on top of yours. Then click on any available time in the calendar interface to create a meeting and invite your teammate. Like all other meetings created in Plan, it will sync back to you and your teammates’ Google and Outlook Calendars.
Lists
  • Create a list in your personal workspace or team workspace by clicking "+ New List" on the left side of the page, under your existing lists.
  • To edit the color or name of a list, hover the cursor over the desired list in the list sidebar, and click the pencil icon that appears. Choose a new color or change the name of the list from the pop up menu.
  • To delete a list, hover the cursor over the desired list in the list sidebar, and click the pencil icon that appears. Then click the trash icon in the list popup menu. Note: the default list cannot be deleted!
  • To archive a list, hover the cursor over the desired list in the list sidebar, and click the pencil icon that appears. Then click the filing cabinet icon in the list popup menu. Only lists that no longer contain any uncompleted tasks can be archived. Archived lists can be accessed by clicking the archive icon at the bottom of the list sidebar.
  • To sort the tasks in a list by due date, priority, estimated complexity or scheduled status, click the sort tasks icon at the top of the list view. Or, drag and drop tasks to a preferred custom order.
  • To switch from the list view to kanban view, click "Kanban" at the top of the list view. Kanban view can be used to better visualize the flow of work from one project to another. Drag and drop tasks between projects in kanban view just like in the list view.
  • To switch from the list view to timeline view, click "Timeline" at the top of the list view. Use the timeline view to effortlessly map out your high-level projects and goals. Drag and drop unscheduled tasks from the “Things to do” tab to the timeline, automatically assigning the tasks a start date, due date and a teammate to work on them.
  • To add another teammate to a list, click on the people icon located at the top of the list view. In the menu that appears, simply select the desired team members to add them to the list. Only people who have already been invited to the workspace can be added to the list. Only teammates added to a list can view and edit its tasks.
  • To remove a teammate from a list, click on the people icon located at the top of the list view. In the menu that appears, click "Members", and then click the "X" to the right of the team member you would like to remove.
  • Toggle the visibility of assigned or unassigned tasks in a team list by clicking the team assignee icon at the top of the list view. In the popup menu, choose to filter out all unassigned tasks, all tasks assigned to you, or all tasks assigned to other teammates. Filtering tasks by assignee can expedite the navigation of team lists.
  • Integrate a list in Plan with a Github repository or JIRA project to automatically import pull requests and issues as tasks in Plan. Any updates made to these tasks will be reflected in the corresponding Github and JIRA issues and pull requests.

    To do so, first ensure that you have enabled a JIRA or Github integration in the Plan workspace containing the relevant list (See Integrations). Then click the integrations icon at the top of the list view, and choose your preferred method of integration in the menu that appears
  • To change the default list, click the settings icon in the bottom left corner of Plan. Click "Preferences" and then select a list from the "Default List" dropdown menu. All tasks created in the agenda view will be automatically linked to the default list.
Projects
  • To create a project, click "+ Add Project" at the top of the list view. Projects can be used to further organize the tasks in a list, either by sorting tasks into different levels of urgency or into sub-categories.
  • Add tasks directly to a project by clicking the plus icon next to the desired project’s name. Drag and drop tasks between projects if a task has been added to the incorrect project.
  • To delete a project, click on the sign post icon next to the project’s name and select "Delete" from the dropdown menu that will appear. All uncompleted tasks linked to a deleted project will be automatically moved to “no project” in the list view.
  • To archive a project, click on the sign post icon next to the project’s name and select "Archive" from the dropdown menu that will appear. A project cannot be archived until all of its tasks have been completed.
  • To rename a project, hover over the name of the desired project and click the pencil icon that appears.
  • To assign a due date to a project, click "+ Due" on the right side of the project header. Then select any date from the calendar dropdown menu.
  • To toggle the visibility of the projects within a list, first click on the name of the desired list in the list sidebar. The project names will appear in the sidebar under the list name. Click on any project name to hide that project and its tasks from the list view. Click on the project name again and it will reappear.
  • To reorder the projects within a list, first click on the name of the desired list in the list sidebar. The project names will appear in the sidebar under the list name. Drag and drop the project names in the sidebar to reorder the projects in the corresponding list view.
Calendars
  • To toggle the visibility of a particular calendar, click "+ Visible Calendars" at the bottom of the agenda view, calendar view, or list view. A pop up menu will appear displaying all of the calendars linked to your Plan account. Clicking on a calendar will hide all of its events in Plan. Click on a hidden calendar and its events will reappear in the Plan calendar.
  • Use the task side pane in the full calendar view to schedule your entire work week in advance. Click the calendar icon on the left side of the page to go to the full calendar view. Click on the arrow icon in the upper right corner to access the task side pane, and simply drag a task onto the calendar to schedule a time to work on it.

    The task side pane groups all of your tasks into three categories: tasks that are due soon or overdue, tasks that are assigned to you, and tasks that you have not yet scheduled a time to work on.
  • To sync the tasks scheduled in a Plan calendar to your Google Calendar, first click the settings icon in the bottom left corner of Plan. Click "Preferences", then "Notifications", and enable "Sync Tasks to Calendar". Now the Google Calendar linked to your Plan account will include all tasks scheduled into the Plan calendar. These tasks will appear as events in your Google Calendar under the newly created "Plan: Tasks" calendar.
  • Instantly view your teammates’ daily and weekly schedules with Plan’s shared team calendars. Go to the full calendar view and toggle your teammates’ names in the sidebar to reveal or hide their schedules.

    Don’t worry, only tasks created in a team workspace and scheduled into the calendar will be shared with your teammates. Everything created in or scheduled from your personal workspace will remain private to you.
  • The Plan calendar defaults to a 7 day week view. To change the calendar to a 4-day view or month view, click "Week" in the top right corner of the page. Then select Week, 4 Days, or Month from the dropdown menu that appears.
  • By default, the calendar week view begins on Sunday and ends on Saturday. To change the day on which the calendar week view begins, click the settings icon in the bottom left corner of Plan. Click "Preferences" and then select a new day from "Week Start" in the menu that appears.
  • To change the default calendar, click the settings icon in the bottom left corner of Plan, then click "Preferences", and select a new default calendar under the Calendar section of the preferences menu. Anytime a meeting is created in Plan, it will automatically sync to the default calendar.
  • If you are experiencing any sync issues between Google Calendar, Outlook Calendar and Plan, please visit the integrations page to make sure your calendar integrations have not expired. If a calendar integration has expired, please click "Refresh Passport" to the right of the integration’s name.
Teams
  • To create a team in Plan, first create a new workspace by clicking "+ Create a Workspace" on the left side of the page. Name your team's workspace, choose a team color, and then build out your team by inviting members through a simple email invitation. You can add or remove team members from the workspace at any time.
  • Additional team members can be invited to a shared workspace at any time. To do so, click on your team's workspace icon, click on the workspace’s name at the top of the page, click "Invite" from the dropdown menu, and add the email addresses of the teammates you would like to invite.
  • To add another team member to a list, click on the people icon located at the top of the list view. In the menu that appears, simply select the desired team members to add them to the list. Only people who have already been invited to the workspace can be added to the list. Only teammates added to a list can view and edit its tasks.
  • To rename a shared workspace, or to edit a workspace’s color, click on the desired workspace, click "Settings" from the dropdown menu and select a new color and name.
  • The team dashboard provides a glimpse into the status of each team member, day by day, week by week, and month by month. Here you can view all your teammates’ active tasks (tasks scheduled into the calendar), completed tasks, and upcoming meetings. Simply click on any team workspace icon to visit that team's dashboard.
  • To assign a tasks to a teammate, click on the plus icon to the right of the task name. Then select a team member from the dropdown menu to assign them that task. Only tasks from shared lists can be assigned to a teammate.
  • Toggle the visibility of assigned or unassigned tasks in a team list by clicking the team assignee icon at the top of the list view. In the popup menu, choose to filter out all unassigned tasks, all tasks assigned to you, or all tasks assigned to other teammates. Filtering tasks by assignee can expedite the navigation of team lists.
  • Spice up your Plan profile by adding a custom avatar picture in the workspace settings. To do so, click on a workspace, click on the workspace’s name at the top of the page, and click "Settings" from the dropdown menu. Click on your member tile and select a new avatar picture from your computer to upload.
  • To remove a team member from a workspace, click on the workspace’s icon, click on the workspace’s name at the top of the page, click "Members" from the drop down menu. Then, click the red "X" next to the name of the team member you would like to remove.
  • To remove a team member from a list, click on the people icon located at the top of the list view. In the menu that appears, click "Members", and then click the "X" to the right of the team member you would like to remove.
Workspaces
  • To create a new workspace, click "+ Create a New Workspace" on the left side of the page, choose a name and color for the workspace, invite a teammate and click "Create".
  • The weekly agenda is the easiest way to quickly schedule and plan your entire work week. Create a new task in the weekly agenda by clicking the plus icon underneath the desired weekday. Or, schedule existing tasks into your work week from the task sidebar. To open the task sidebar, click the arrow icon at the top right corner of the page. Then drag and drop tasks from the side bar onto a day in the weekly agenda. Reschedule tasks to a different work day via drag and drop.

    The task sidebar is divided into tasks that are overdue or due soon, tasks that were created by you or assigned to you by a teammate, and tasks that have not yet been scheduled a working session.
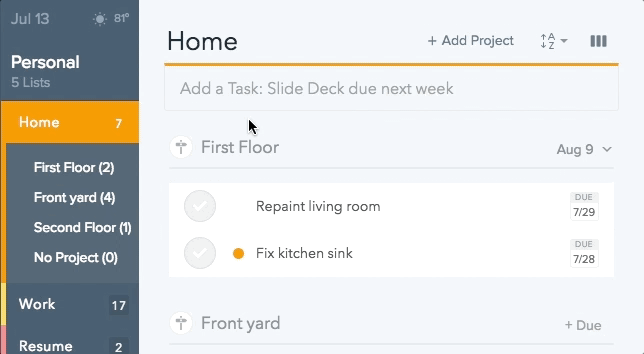
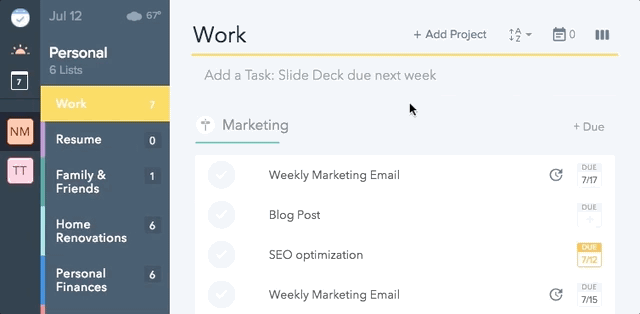
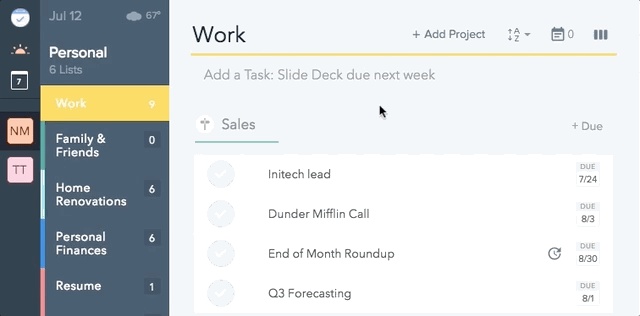
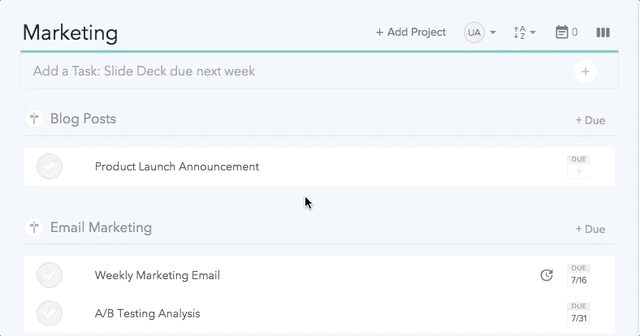
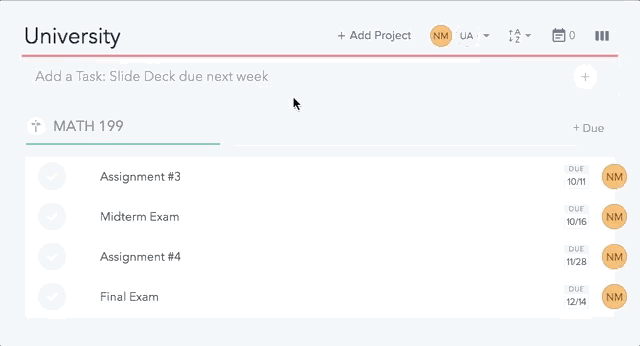
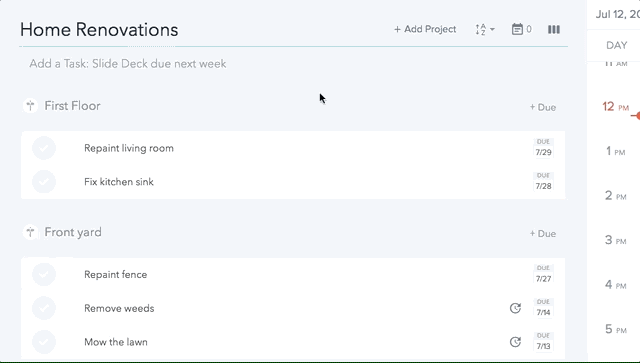
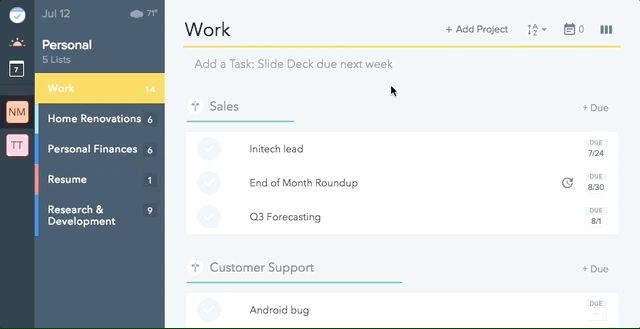
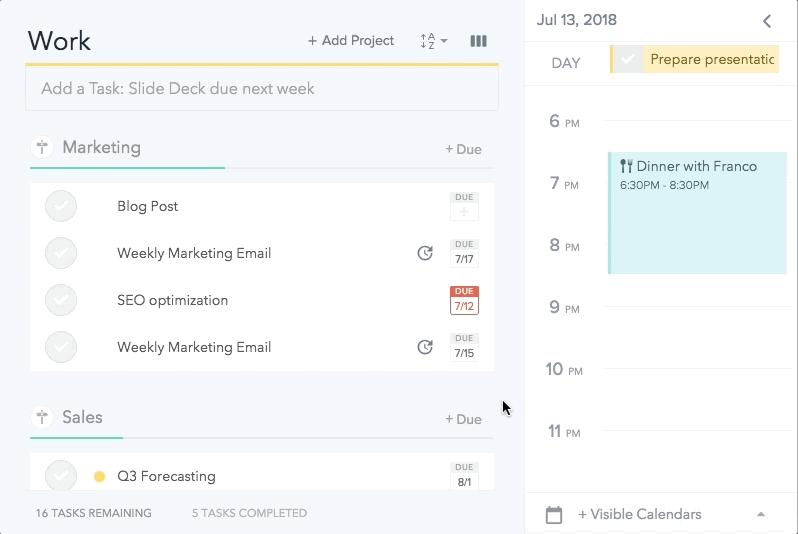
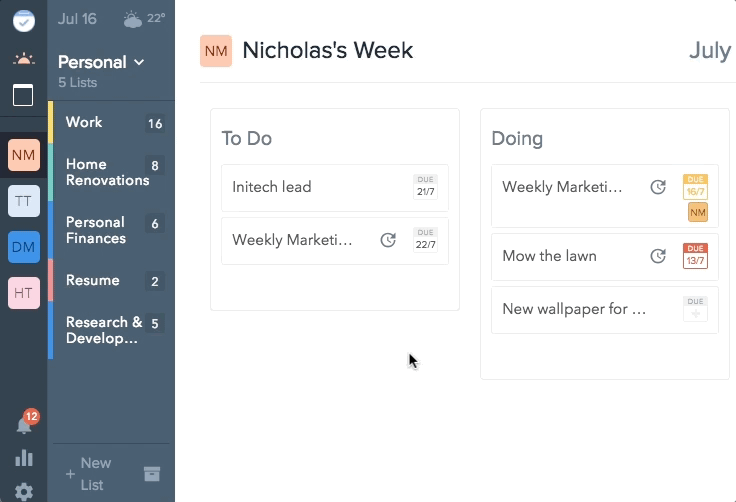
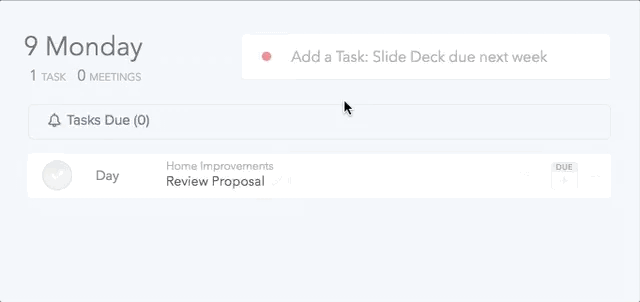
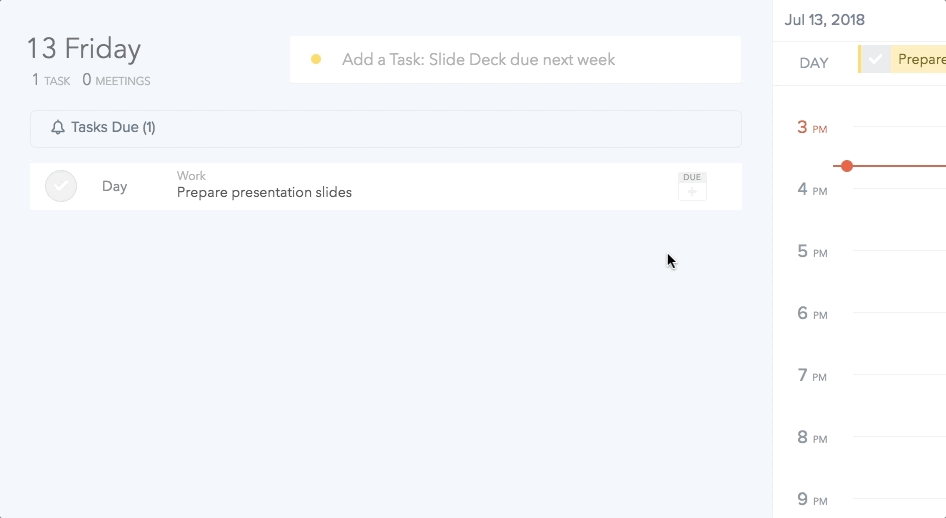
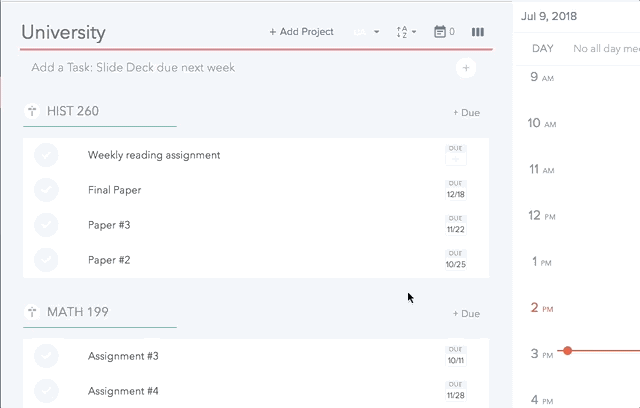
  • Your personal workspace is the default workspace created for you when you sign up for Plan. Your personal workspace cannot be shared with another Plan teammate - all of its lists and tasks will remain private and visible only to you. Your personal workspace also contains your weekly agenda, which can help you schedule and plan your entire week in one view.

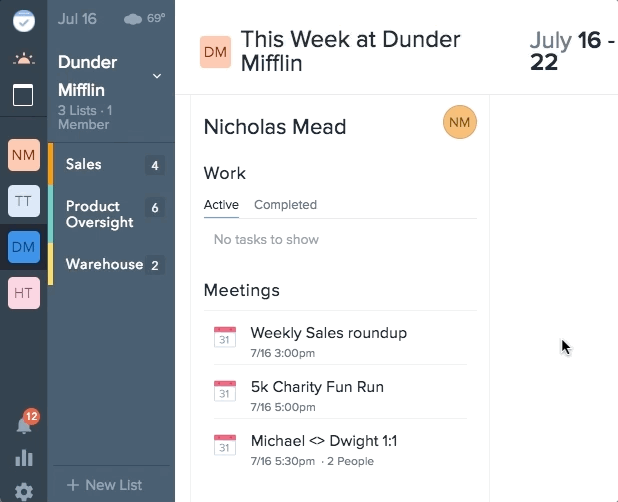
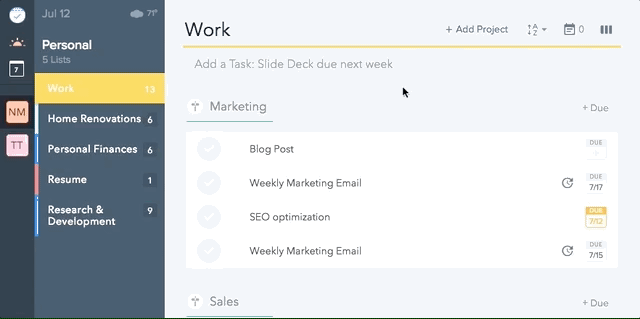
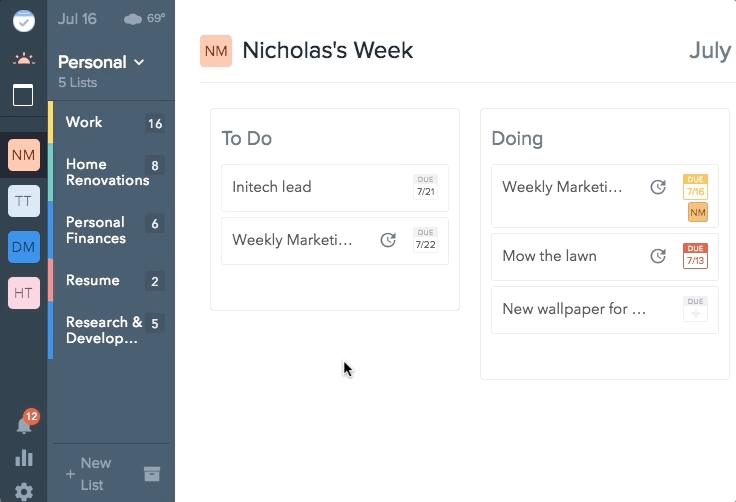
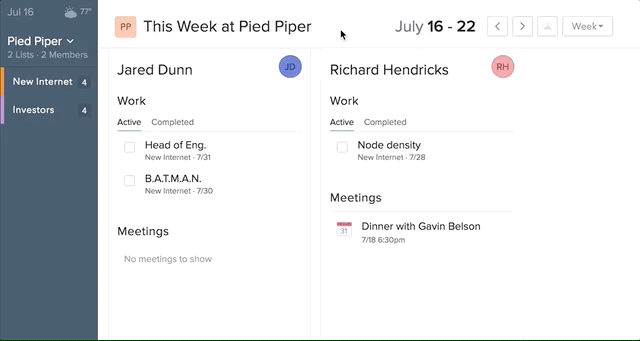
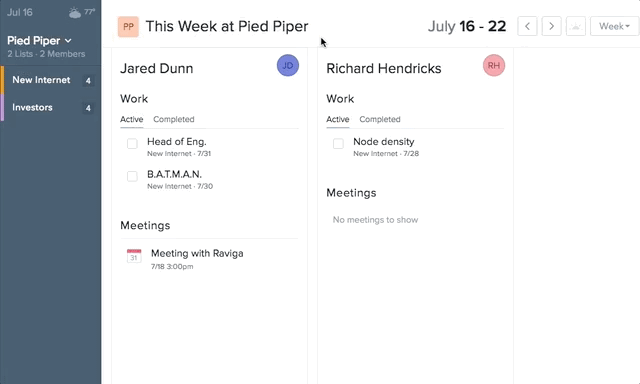
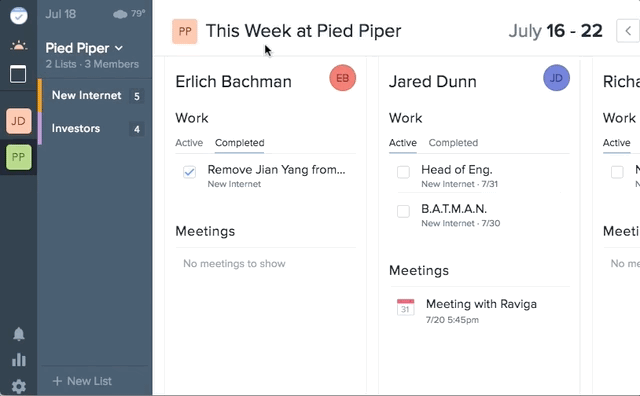
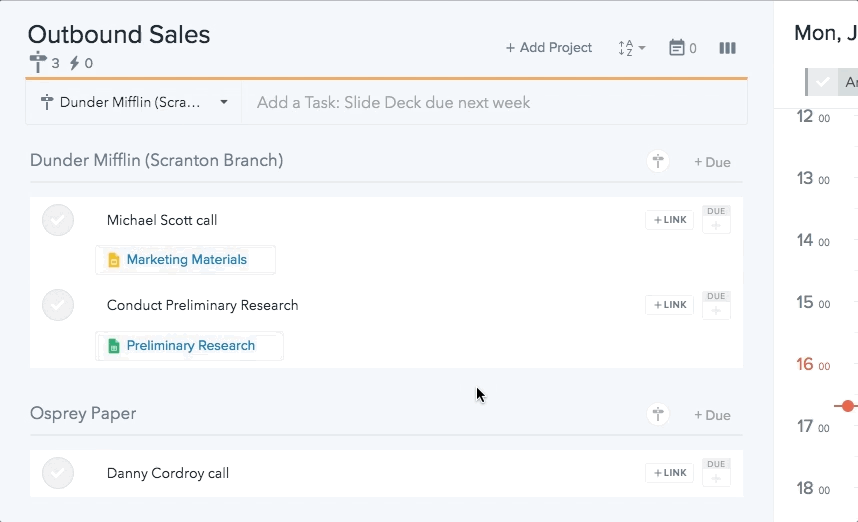
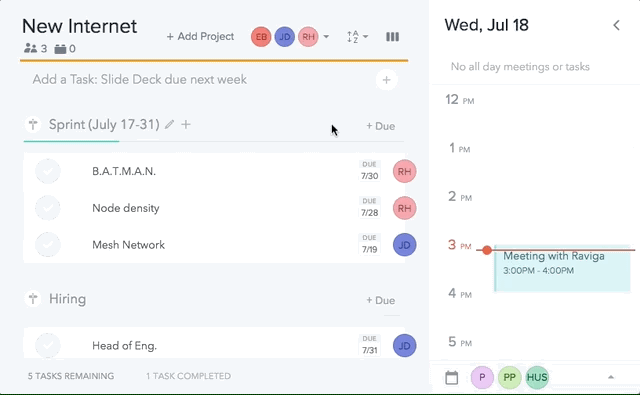
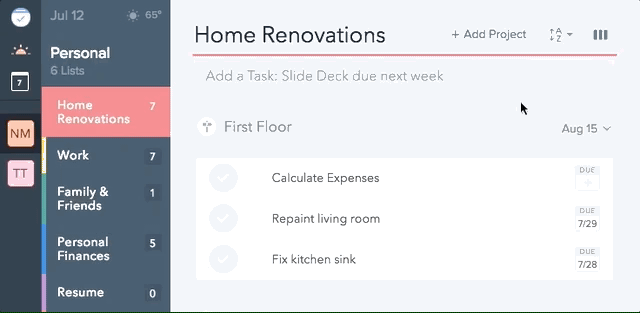
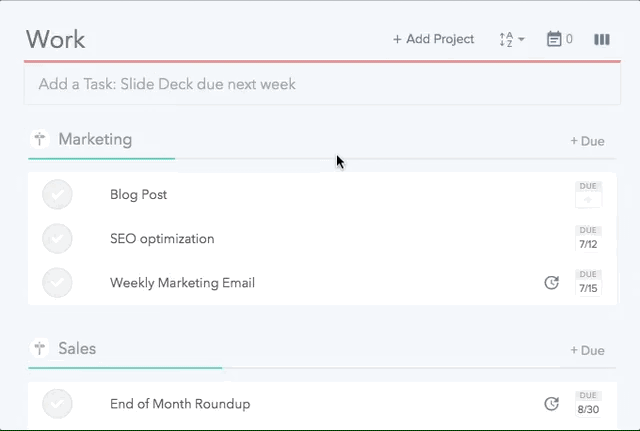
    A shared workspace is any workspace created in Plan after your personal workspace. Unlike your personal workspace, you can invite any number of teammates to a shared workspace, In a shared workspace, enjoy additional features like the team dashboard, shared team calendars, task assignees, task comments, custom avatar pictures and more.
  • To invite additional teammates to a workspace, click on the workspace’s icon, click on the workspace’s name at the top of the page, and click "Invite" from the drop down menu. Enter your teammates’ email addresses and names, and click "Invite".
  • Integrate a Plan workspace with Google Drive, Box, Github, JIRA, Gmail and more, so you and your team can access and manage all of your work in one intuitive place. To add a workspace integration, click on a workspace icon, click on the workspace’s name at the top of the page, and click "Integration" from the drop down menu. Select an app with which you would like to integrate and click "Enable".
  • Spice up your Plan profile by adding a custom avatar picture in the workspace settings. To do so, click on a workspace, click on the workspace’s name at the top of the page, and click "Settings" from the dropdown menu. Click on your member tile and select a new avatar picture from your computer to upload.
  • To rename a workspace, or to edit a workspace’s color, click on the workspace's icon, click on the workspace’s name at the top of the page, click "Settings" from the dropdown menu and select a new color and name.
  • To remove a team member from a workspace, click on the workspace’s icon, click on the workspace’s name at the top of the page, click "Members" from the drop down menu. Then, click the red "X" next to the name of the team member you would like to remove.
  • To delete a workspace, click on the workspace’s icon, then click on the workspace’s name at the top of the page, select "Settings" from the drop down menu, click "Admin", and then select "Delete Team Forever". Only the creator of a workspace can delete it.
  • If you would like to invite more than 4 team members to a shared workspace or add more than 3 integrations to a shared or personal workspace, please upgrade the workspace. To do so, click on the workspace’s icon, click on the workspace’s name at the top of the page, and click "Plans".
Integrations
  • Integrate a Plan workspace with Google Drive, Box, Github, JIRA, Gmail and more, so you and your team can access and manage all of your work in Plan. To add a workspace integration, click on the workspace's icon, click on the workspace’s name at the top of the page, and click "Integration" from the drop down menu. Select an app with which you would like to integrate and click "Enable".
  • Link a Plan task with a relevant Google doc, email, website, Github pull request, JIRA issue, and more! To do so, click on "+link" to the right of a task and search for the desired file or URL in the menu that appears.
  • Integrate a list in Plan with a Github repository or JIRA project to automatically import pull requests and issues as tasks in Plan. Any updates made to these tasks will be reflected in the corresponding Github and JIRA issues and pull requests.

    To do so, first ensure that you have enabled a JIRA or Github integration in the Plan workspace containing the relevant list. Then click the integrations icon at the top of the list view, and choose your preferred method of integration in the menu that appears.
  • The documents page intelligently organizes and archives information from all of your third party apps. First, integrate Plan with your Google Drive or Box account via the workspace integrations page. Then, visit the documents page by clicking on the document icon on the left side of Plan to quickly access and search for any and all of your external work.
  • Sync additional Google and Outlook calendars to your Plan account by adding a calendar integration in the workspace integrations page. Calendar integrations create a complete two-way sync with your Plan calendar and a Google or Outlook Calendar of your choosing. Any events created or updated in the Plan calendar will automatically appear in your chosen Google/Outlook calendar, and vice-versa!
Misc
  • The default temperature, date, and time format can be changed by clicking the settings icon in the bottom left corner of Plan. Click "Preferences" and choose a preferred temperature, date, and time format from the menu that appears.
  • Use keyboard shortcuts to quickly navigate Plan. To view the extensive list of Plan’s keyboard shortcuts, type "?".